Make Custom Vinyl Stickers Without A Cricut!
Puffin and trout sketches that became stickers!
Foreword: This is a tutorial on how to make stickers without a cricut. I don’t have a cricut and this is how I make my stickers at the moment.
Sketches, sketches, sketches, they pile up. You have them everywhere. Some sketches are not 8x10 print worthy. They are just too small. So they sit on shelves or in cabinets until you one day get all nostalgic and look through them.
Well that’s a darn shame, those small sketches are meant for so much more.
Give them life!
Give them purpose!
Turn them into a sticker!!!
Who doesn’t love stickers!? Now how do you take your sketches and make stickers out them???
Scan Your Sketches!
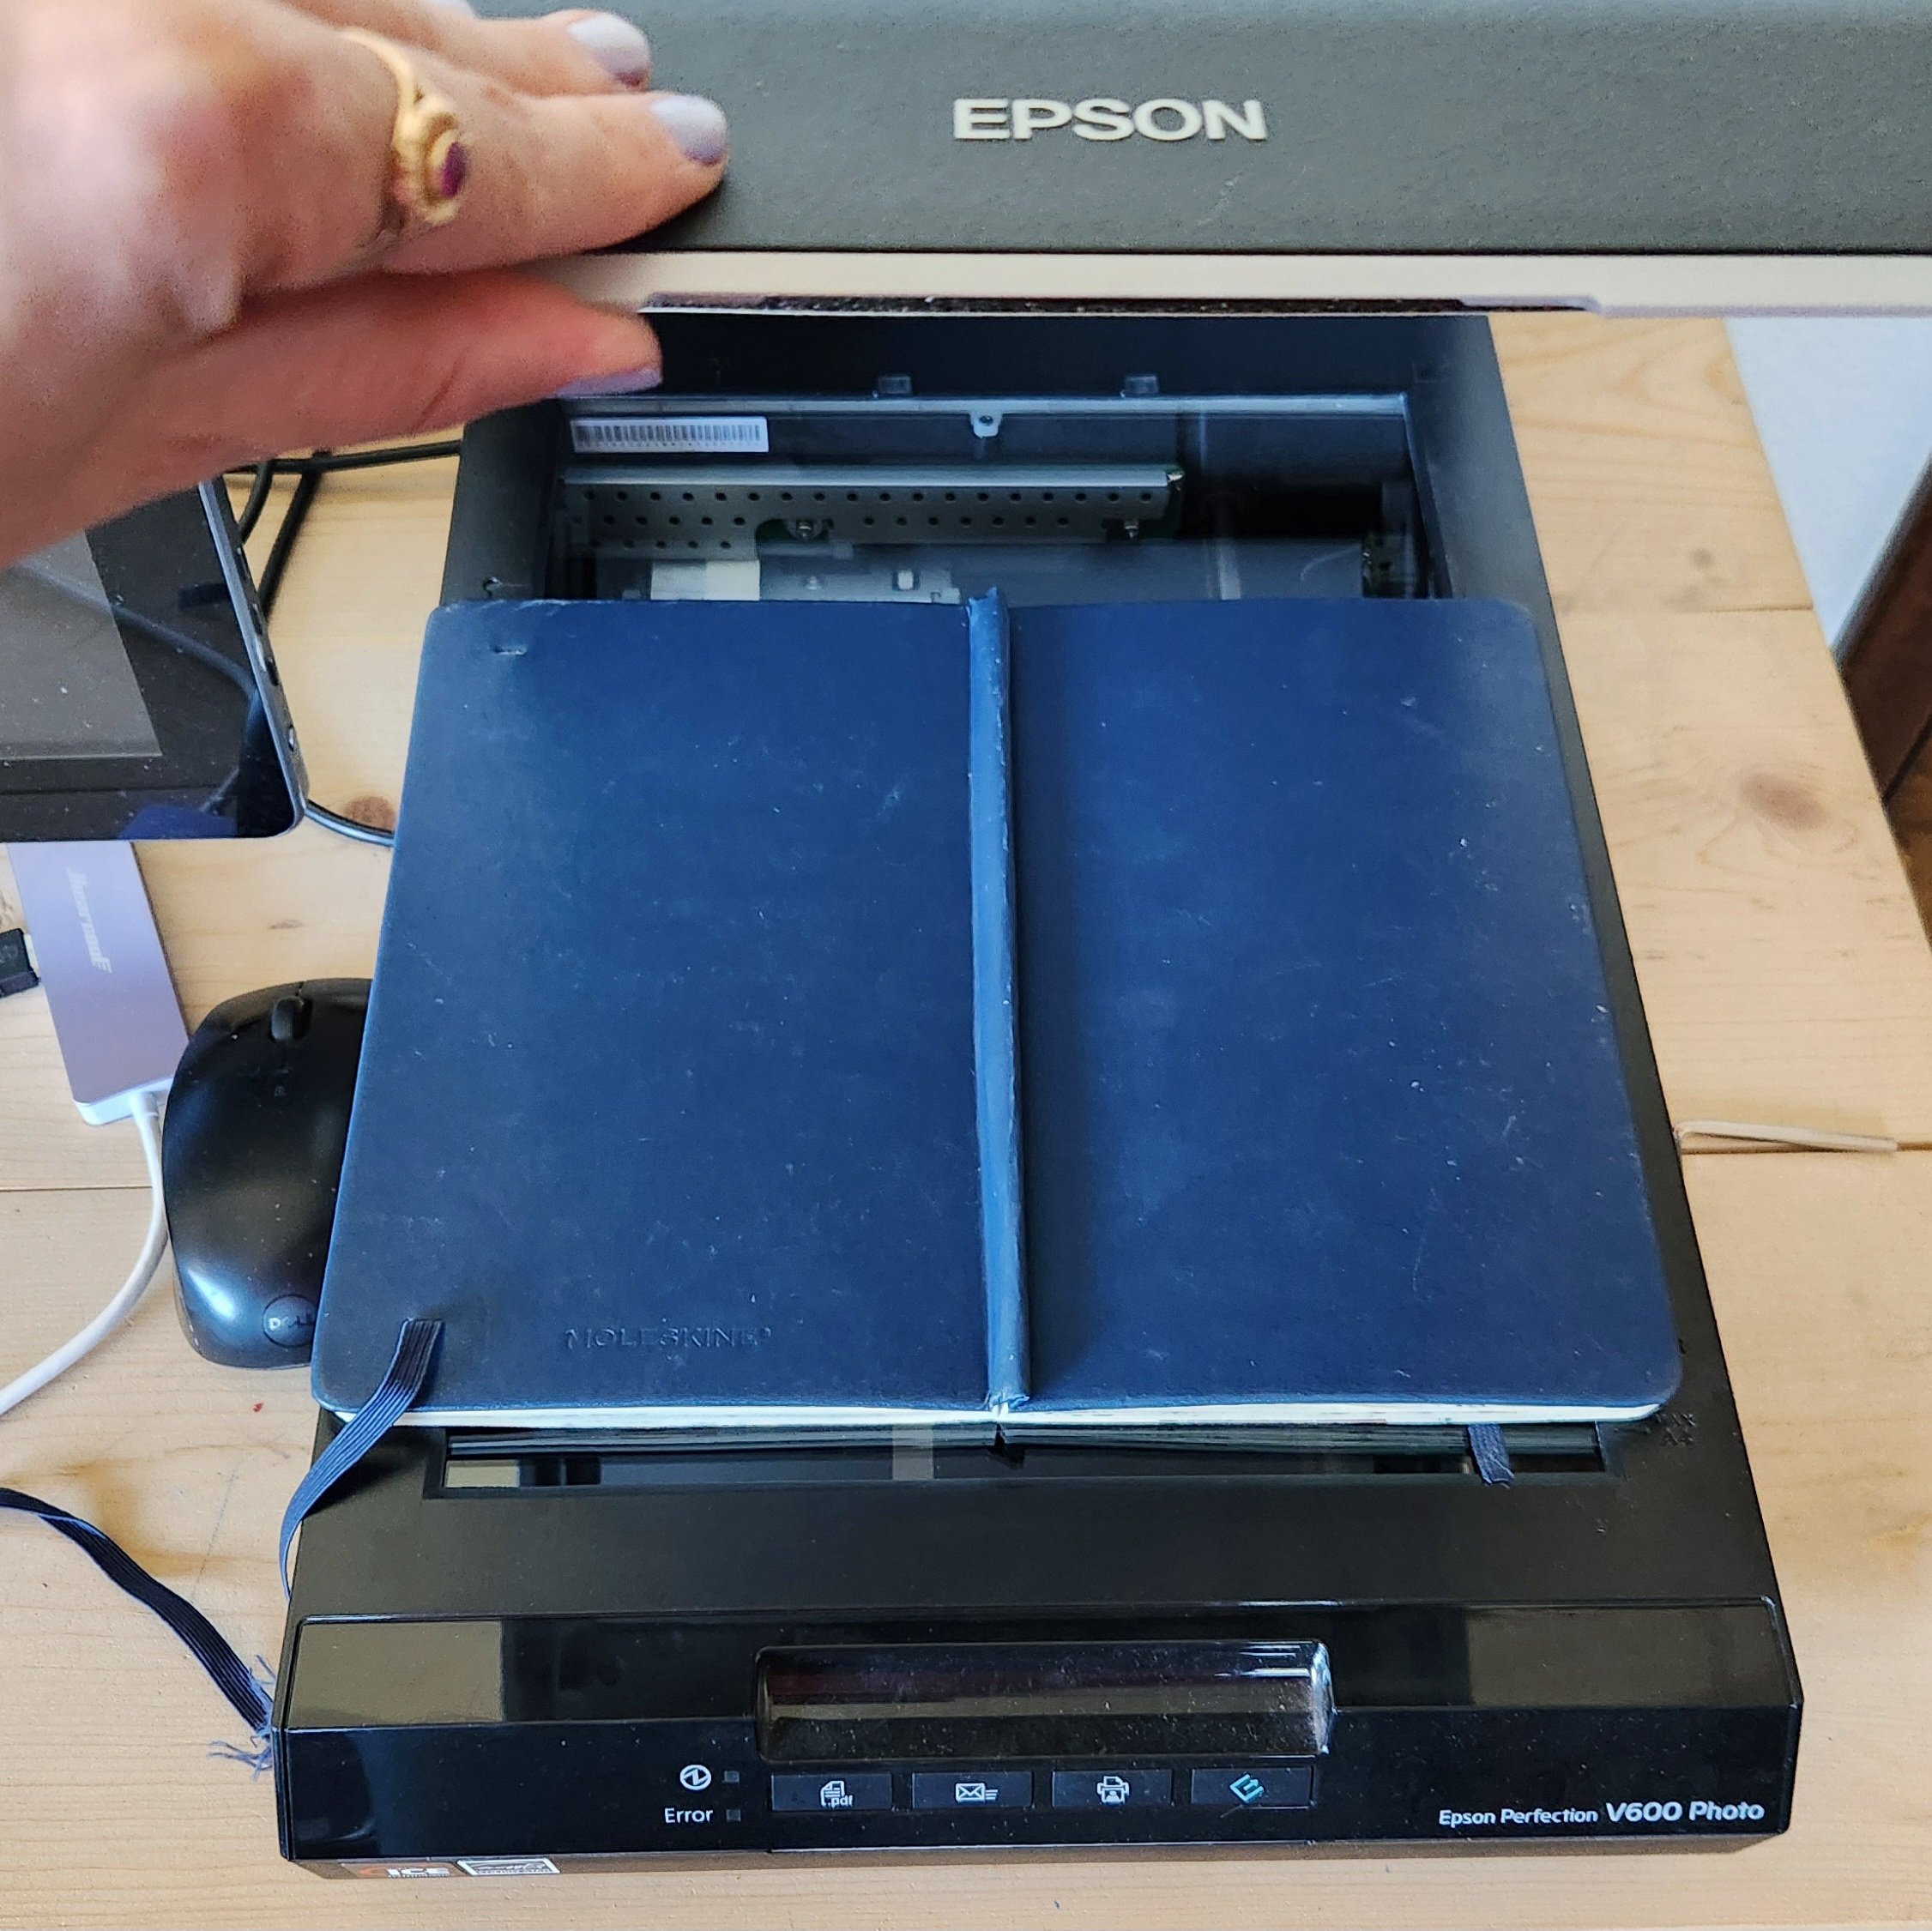
Scan your sketch or take a picture of it. Just get it into photoshop. I use a scanner always, the quality is fabulous and I don’t have to worry about skewing the image. The scanner I use is the EPSON V600 (paid link, Amazon) but use whatever you have, these are not high quality giclee prints, these are just stickers. Don’t overthink it and make it miserable!
Scan Right From Your Sketchbook!
Photoshop Time!
Here is where the magic begins!
You want to make sure all your lines are bold and very black.
Up the saturation a bit, because everyone could use a bit more color!
Erase any leftover pencil smudges or accidental pen marks.
If you want to change a color, do it! It’s your original art that is now turning into digital art. You can change colors or the whole color palette if you’d like. Use photoshop as the tool it is and improve and take away what you want until you’re content.
Remove the background of your image.
Make a new document in photoshop at 8.5” x 11”
Move your image onto this document and size it to the exact size you want your sticker.
Make sure you put rulers on photoshop so you can easily tell how big your sticker will be.
Now copy your sticker and paste it a bunch of times until you have completely filled the page with your sticker
Preview of the two separate sticker sheets
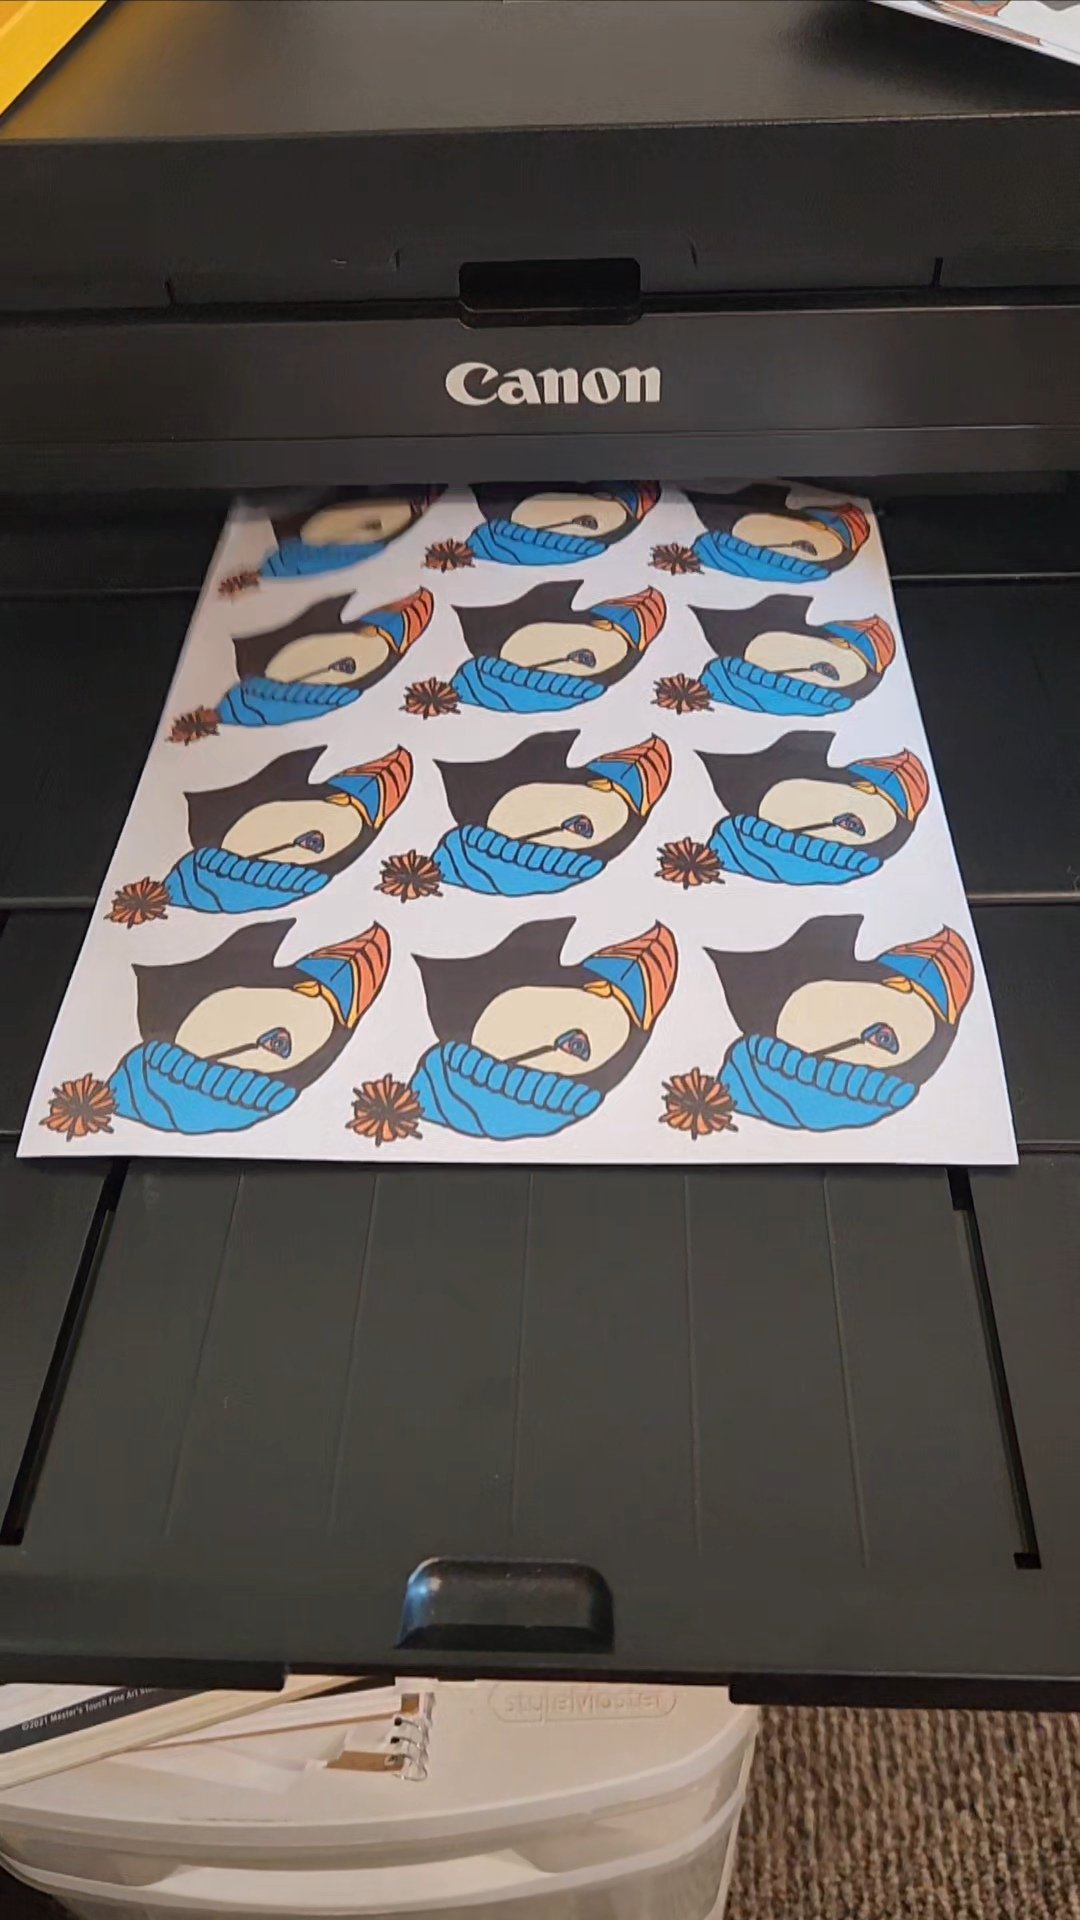
Print it!
It’s always a good idea to do a test print on regular paper before sliding your expensive sticker paper in. Make sure it is printing the way you want and the colors look good.
When everything looks great use premium vinyl sticker paper to print out your stickers. I use this sticker paper from Amazon it comes in a 50 pack. It is really heavy duty and the prints turn out beautifully on this paper. Make sure you load the paper the right way. You don’t want to be printing on the wrong side of the sticker paper (I’ve done that, it sucks!)
I use a Canon Pro-100 (paid link, Amazon) printer for all my art related printing
Time to Upgrade!
Ok technically you have a sticker now, but not a sticker that will last. You have the sticker equivalent of that zebra striped gum, 10 secs and it’s gone!
You need to buy some self adhesive vinyl laminate. I buy my laminate from Amazon, it comes in a 15ft roll and I love the matte option. Now this comes in matte, glossy, and holographic. You can really get some cool effects with the vinyl laminate.
The vinyl laminate protects the sticker and it can now survive being stuck to a water bottle or wherever else people put stickers these days.
The vinyl laminate I purchased comes in a fifteen foot roll. I measure out 9” wide and cut it because my sticker sheet is 8.5” and I want some wiggle room. I peel off the backing to the vinyl laminate and put it face down, with the sticky side up.
Take your sticker sheet and you want the side with the stickers facing the laminate and the side with nothing on it facing you. Slowly put down the bottom of the sticker sheet onto the vinyl laminate and using a credit card or anything stiff and flat, like the edge of a ruler, slowly put your sticker sheet onto the laminate and use the credit card to push out any bubbles. Bubbles are no good! Do this slow, this is not a minute to win it game.
Go Slow and Cut Carefully
Cut Em’!
Time to cut the stickers out, make sure to leave a small white edge all the way around your sticker! It just looks better that way! Go slow, when cutting keep your white edge as even as you can get it all the way around your sticker. And yes you can cut out the sticker by hand and make it look very nice. You can draw so I have full faith you can use scissors fairly well also. You got this!
And now you have beautiful stickers to put up on your webstore, give as gifts, and stick on your own water bottle!
Trout Sticker and Puffin Sticker from Sketches
This blog contains Amazon Affiliate links which gives me a kick back at no extra cost to you! Thank you for your support! Have a happy day!


